Shell Mold Casting
Product Description
https://www.ytc-foundry.com/shell-mold-casting.html
Shell Mold Casting
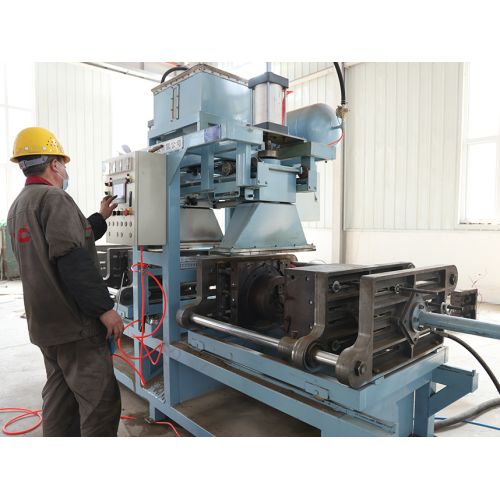
Shell casting is a metal casting process similar to sand casting, in which molten metal is poured into a disposable sand mold. However, in shell casting, the mold is a thin-walled shell made by applying a sand resin mixture around the model. The model is a piece of metal with the desired part shape that can be reused to form multiple shell molds. Reusable models increase productivity, while disposable molds allow for the casting of complex geometries.
The process offers greater dimensional accuracy, higher productivity, and lower labor requirements than sand casting, and is often used for small to medium-sized parts with high accuracy requirements.
Shell casting is suitable for ferrous and non-ferrous metals. The most commonly used are carbon steel, alloy steel, stainless steel and copper alloys. Typical parts cast using this process are small to medium in size and require high accuracy, such as gearboxes, cylinder heads, connecting rods and lever arms.
Shell Casting Process
Step 1: Creating a Pattern
The first step in the shell molding process is to create a pattern, which usually consists of two different pieces of metal, either iron or steel, whose shape depends on the finished part or assembly. In addition to steel and iron, other materials are often used, such as aluminum for small production runs or graphite for casting reaction materials.
Step 2: Creating the shell mold
When the model is ready, it is heated to about 550 degrees Fahrenheit and covered with sand. The resin-coated sand grains will bind together and begin to solidify. After a few minutes, there will be enough sand to stick to the walls of the core box. Afterward, you can pour out the remaining sand, leaving a hollow core. Typically, the walls of the shell mold are 7 to 8 millimeters thick.
Step 3: Assembling the shell mold
During the shell casting process, the shell mold is only complete when the two halves are completely connected and securely clamped together with glue or other fasteners. If a core needs to be inserted, it should be inserted before closing the mold. The shell mold is then placed in the sandbox and supported with a piece of backing material.
Step 4: Pouring the molten metal
The fourth step in the shell casting process is to pour the molten metal into the shell cavity. In the shell casting process, any metal or alloy of any nature or type is melted into a liquid state, poured into the shell cavity and formed into a hardened shell.
Step 5: Cooling
The molten metal is allowed to cool and solidify into the shape of the final shell casting. The molded part should normally be cooled at room temperature. As the modeled part cools, the molten metal will gradually transform into the desired hardened geometry.
Step 6: Removal of the Shell Mold
This is the final step in the shell casting process - removing the shell mold. Once the molten metal has cooled, the outer mold can be disassembled and the casting removed. The shell casting process involves the use of a two-piece mold, and the shell casting is easily ejected by “opening” the mold. By separating the top and bottom model parts from each other, the newly created shell casting can be ejected at the same time.


